
It’s nice to get my act together and finally post one of my makes. Unfortunately it’s been taking me longer to take pictures and convert them than I would have anticipated. My motivation to go outside and pose has been steadily dwindling in the past couple of years…though sewing hasn’t stopped.
Che bello essere finalmente riuscita ad organizzarmi e pubblicare uno dei capi cuciti in questi mesi. Purtroppo ci ho messo più del previsto a fare foto e cambiare formato. Negli ultimi anni ho sempre meno voglia di uscire e posare per le foto… ma continuo a cucire.

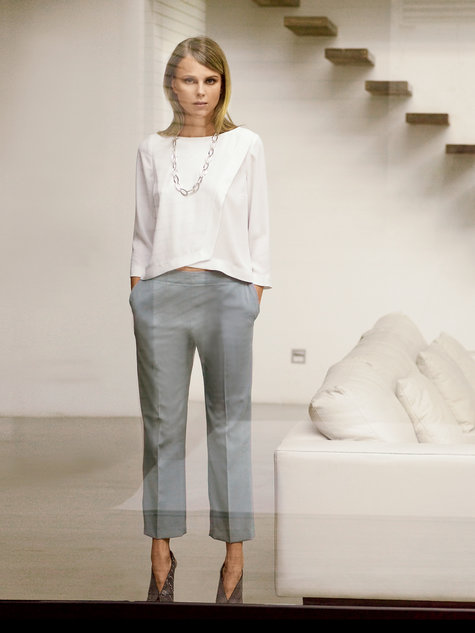
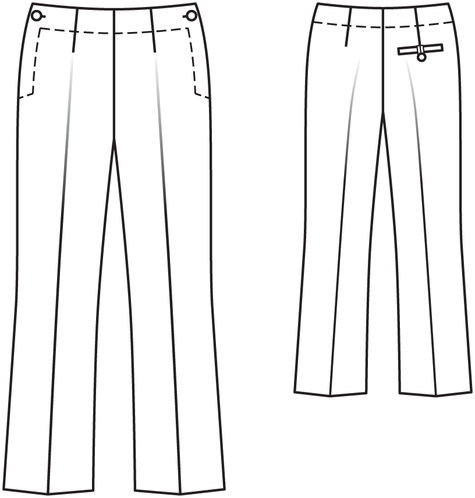
I printed this Burda 04/2014 116 Pants pattern several years ago but never got around to make it. When I finally took the plunge I realized I didn’t have any instructions and I was quite puzzled about the construction…despite some nice seamstresses coming to the rescue…it didn’t help. I couldn’t figure out how the closure and buttons came together. So I modified the facings, added a side zipper and off I went. If any of you made them and can spare me some tips…I’d be delighted to hear.
Ho stampato questo cartamodello Burda 04/2014 116 anni fa, ma è rimasto lì. Quando mi sono decisa a cucirlo mi sono resa conto di non avere le istruzioni e avevo dubbi. Alcune di voi me le hanno mandate…ma i dubbi sono rimasti. Non sono riuscita a capire come assemblare la chiusura e i bottoni. Così ho deciso di modificare la paramontura, aggiungere la lampo e mettermi all’opera. Se avete cucito questo modello e avete suggerimenti fatemi sapere!
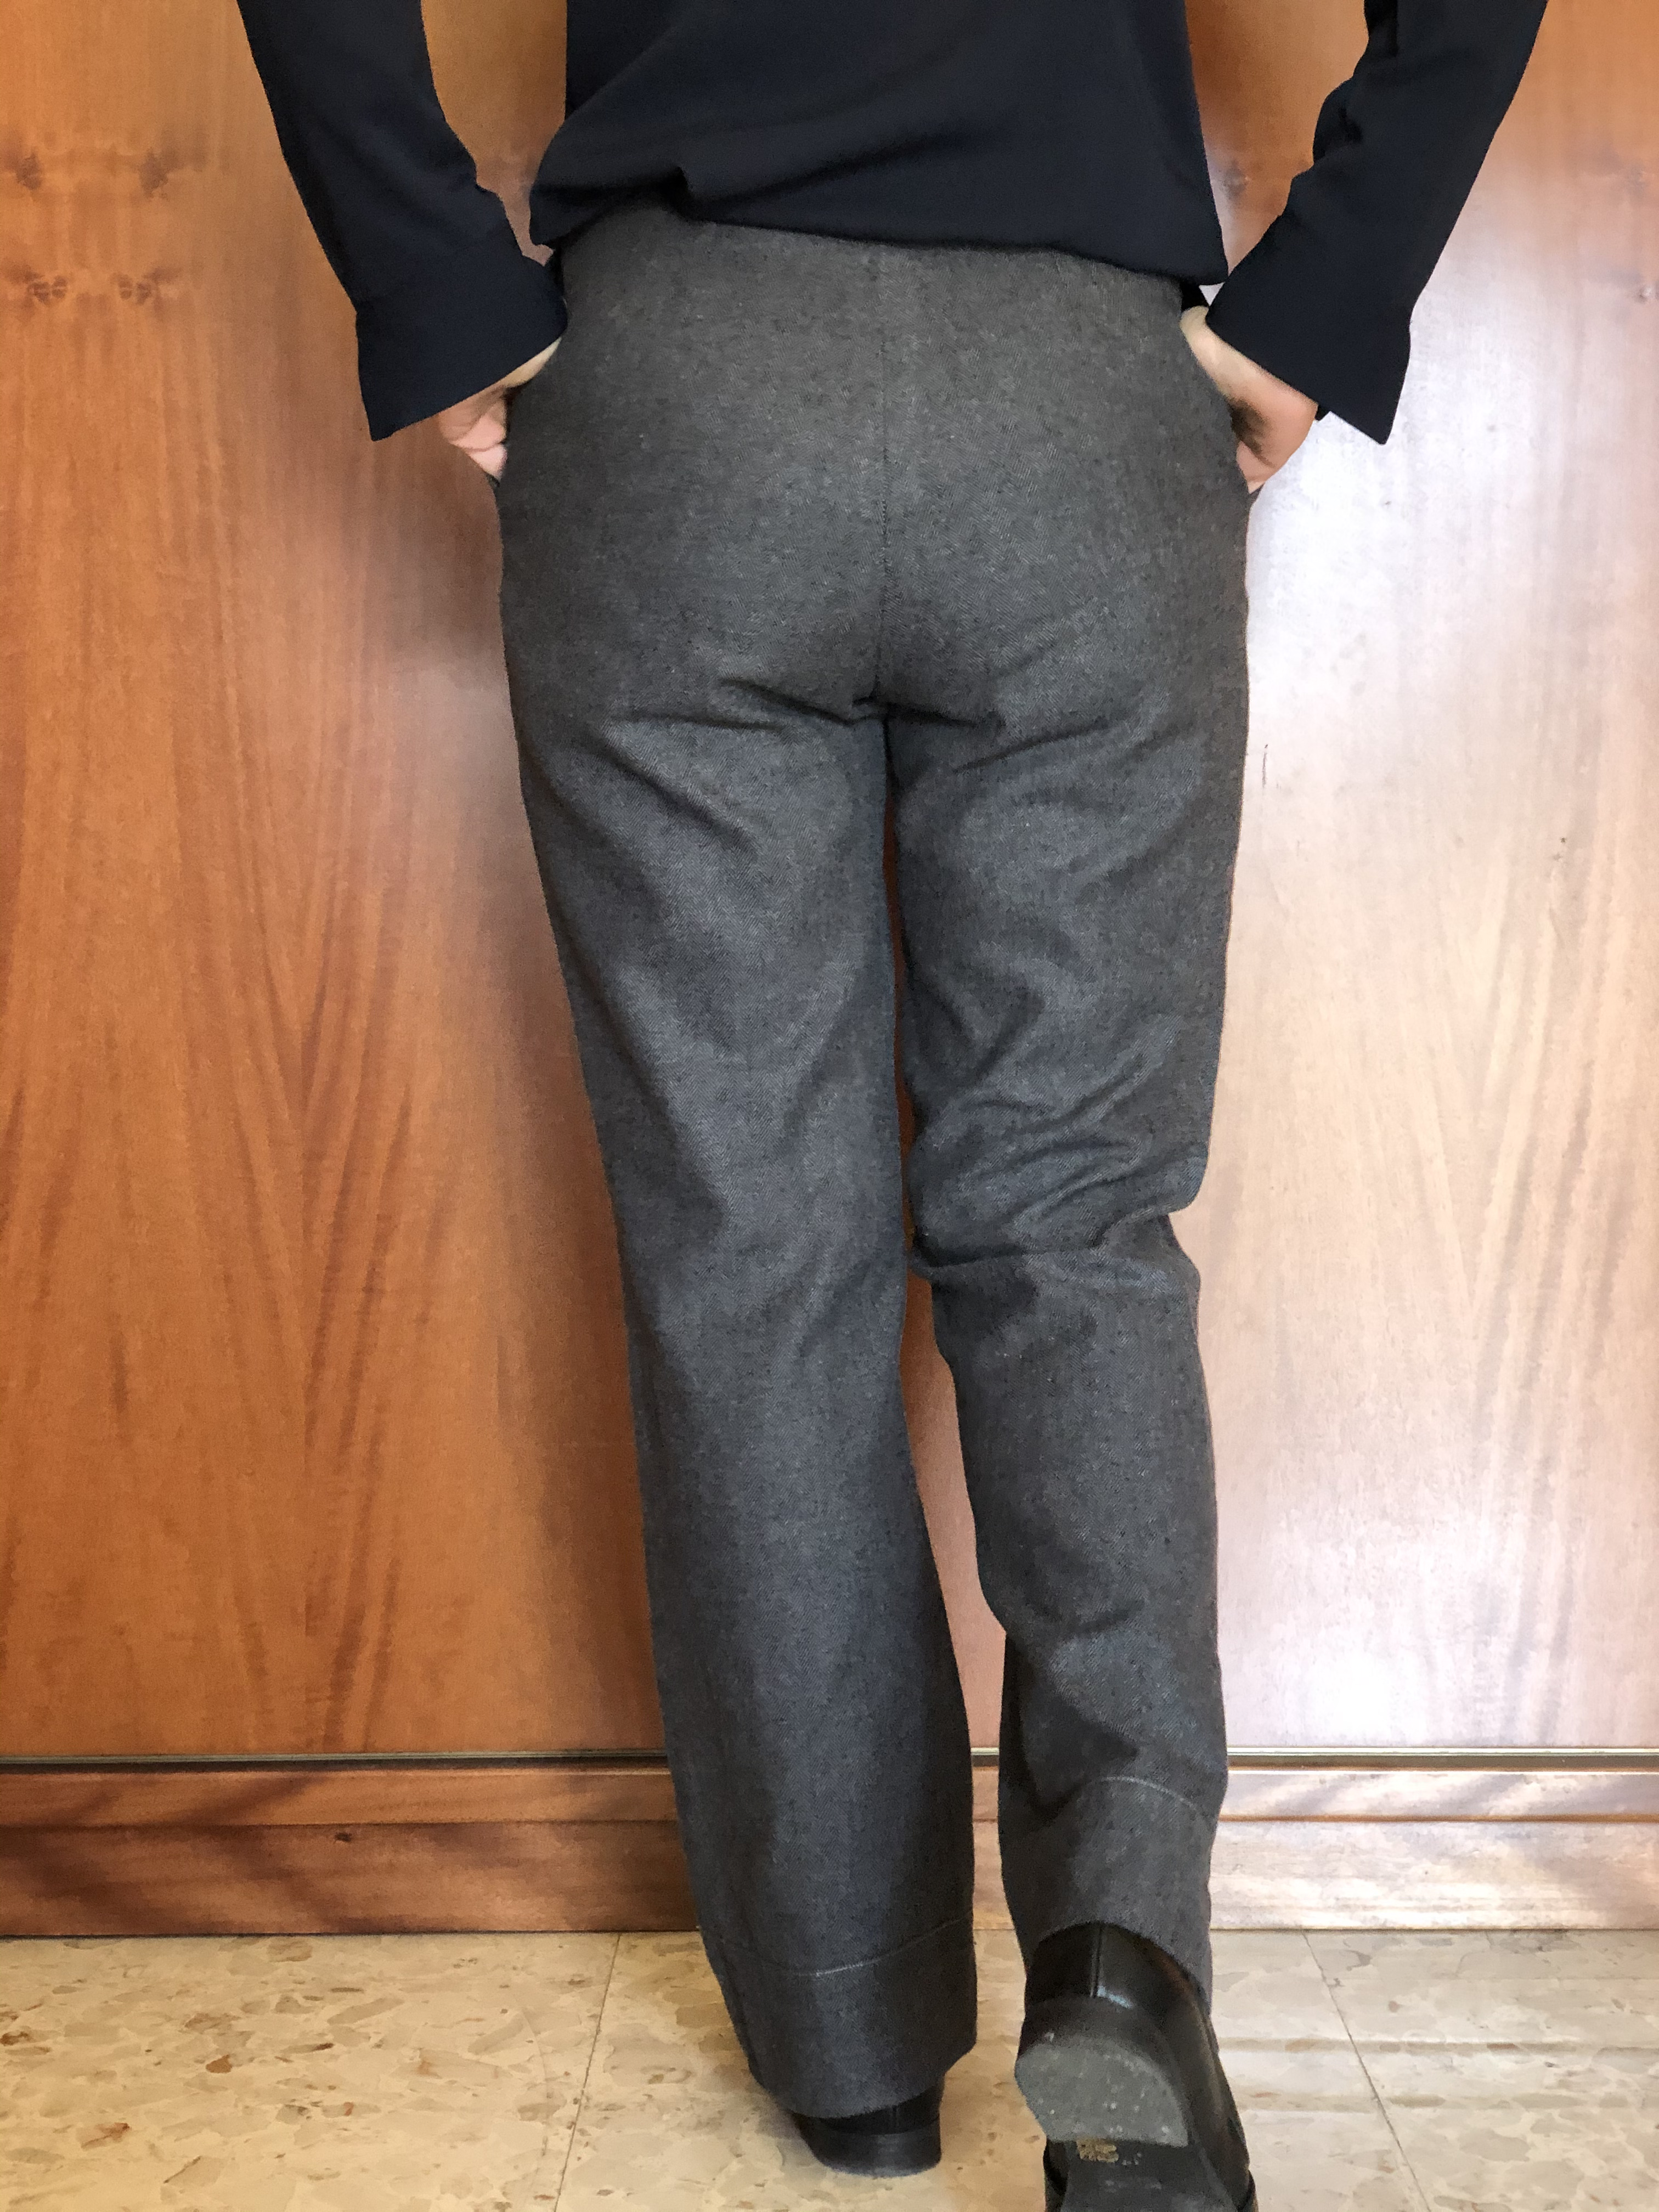
 As you may notice there’s a topstitching line close to my ankle…I didn’t have enough fabric so decided to piece it together and call it a design feature.
If you want to learn how to sew a zipper by the pocket I would highly reccomend Sara’s De Costuras y otras cosas tutorial I couldn’t have done it without her. Just keep in mind that the back side of the pocket piece should match the pants…If you decice to use contrast fabric as I did bear in mind it will peak through.
Forse noterete le impunture in prossimità della caviglia. Non avevo più stoffa così ho unito 2 parti e l’ho reso un elemento di design.
Se volete imparare come cucire una lampo vicino a una tasca, vi consiglio le spiegazioni di Sara sul blog De costuras y otras cosas Senza di lei non ce l’avrei fatta. Tenete presente che la parte posteriore della tasca dovrebbe essere della stessa stoffa del capo. In caso contrario intravedrete della stoffa a contrasto…come nel mio caso.
 Sincere apologies for the blurry pictures. I don’t know what happened…I think it’s a file conversion issue from heic (damn Apple format)
Scusate per la foto sfocata. Non so come sia successo…forse la conversione dal formato heic (Mannaggia Apple)
Hope you are doing well and sewing loads. See again soon with a shirt!
Spero che voi stiate bene e cuciate molto. Ci vediamo presto con una camicia!

These are perfection. The fit is wonderful and they look very elegant. 😍
Cant wait to see the shirt.
LikeLike
Thanks Evie! Luckily enough only minor fit adjustments were needed. The fabric is a very nice wool and a gift…very lucky
LikeLike
Thank you for that tutorial on how to manage a zip in a pocket area. I need this info! Love your pants – cute design.
LikeLike
Sara’s blog is a goldmine of sewing knowledge. I am happy it’s useful. Many thanks for your comment
LikeLike
they look fantastic and what a great fit.
LikeLike
Thanks so much Beth. It means a lot
LikeLike
Un pantalón para usar y usar. Te quedó muy bien Silvia.
LikeLike
Muchas gracias Eva. Tienes razón lo he usado un montón ya
LikeLike
wow!
the trouser leg would have looked great even shorter, without the top-stitched add on. Are you sure it was needed???
The sample photo looks incredible, I thought that was what you were going for…
thank you for posting.
LikeLike
Hi Kate! Many thanks. Indeed the cropped style looks very good on the model but I don’t like it on me. It makes me short legs even shorter. I prefer something I am sure I will wear. I would love to give that top a try 😉
LikeLike