
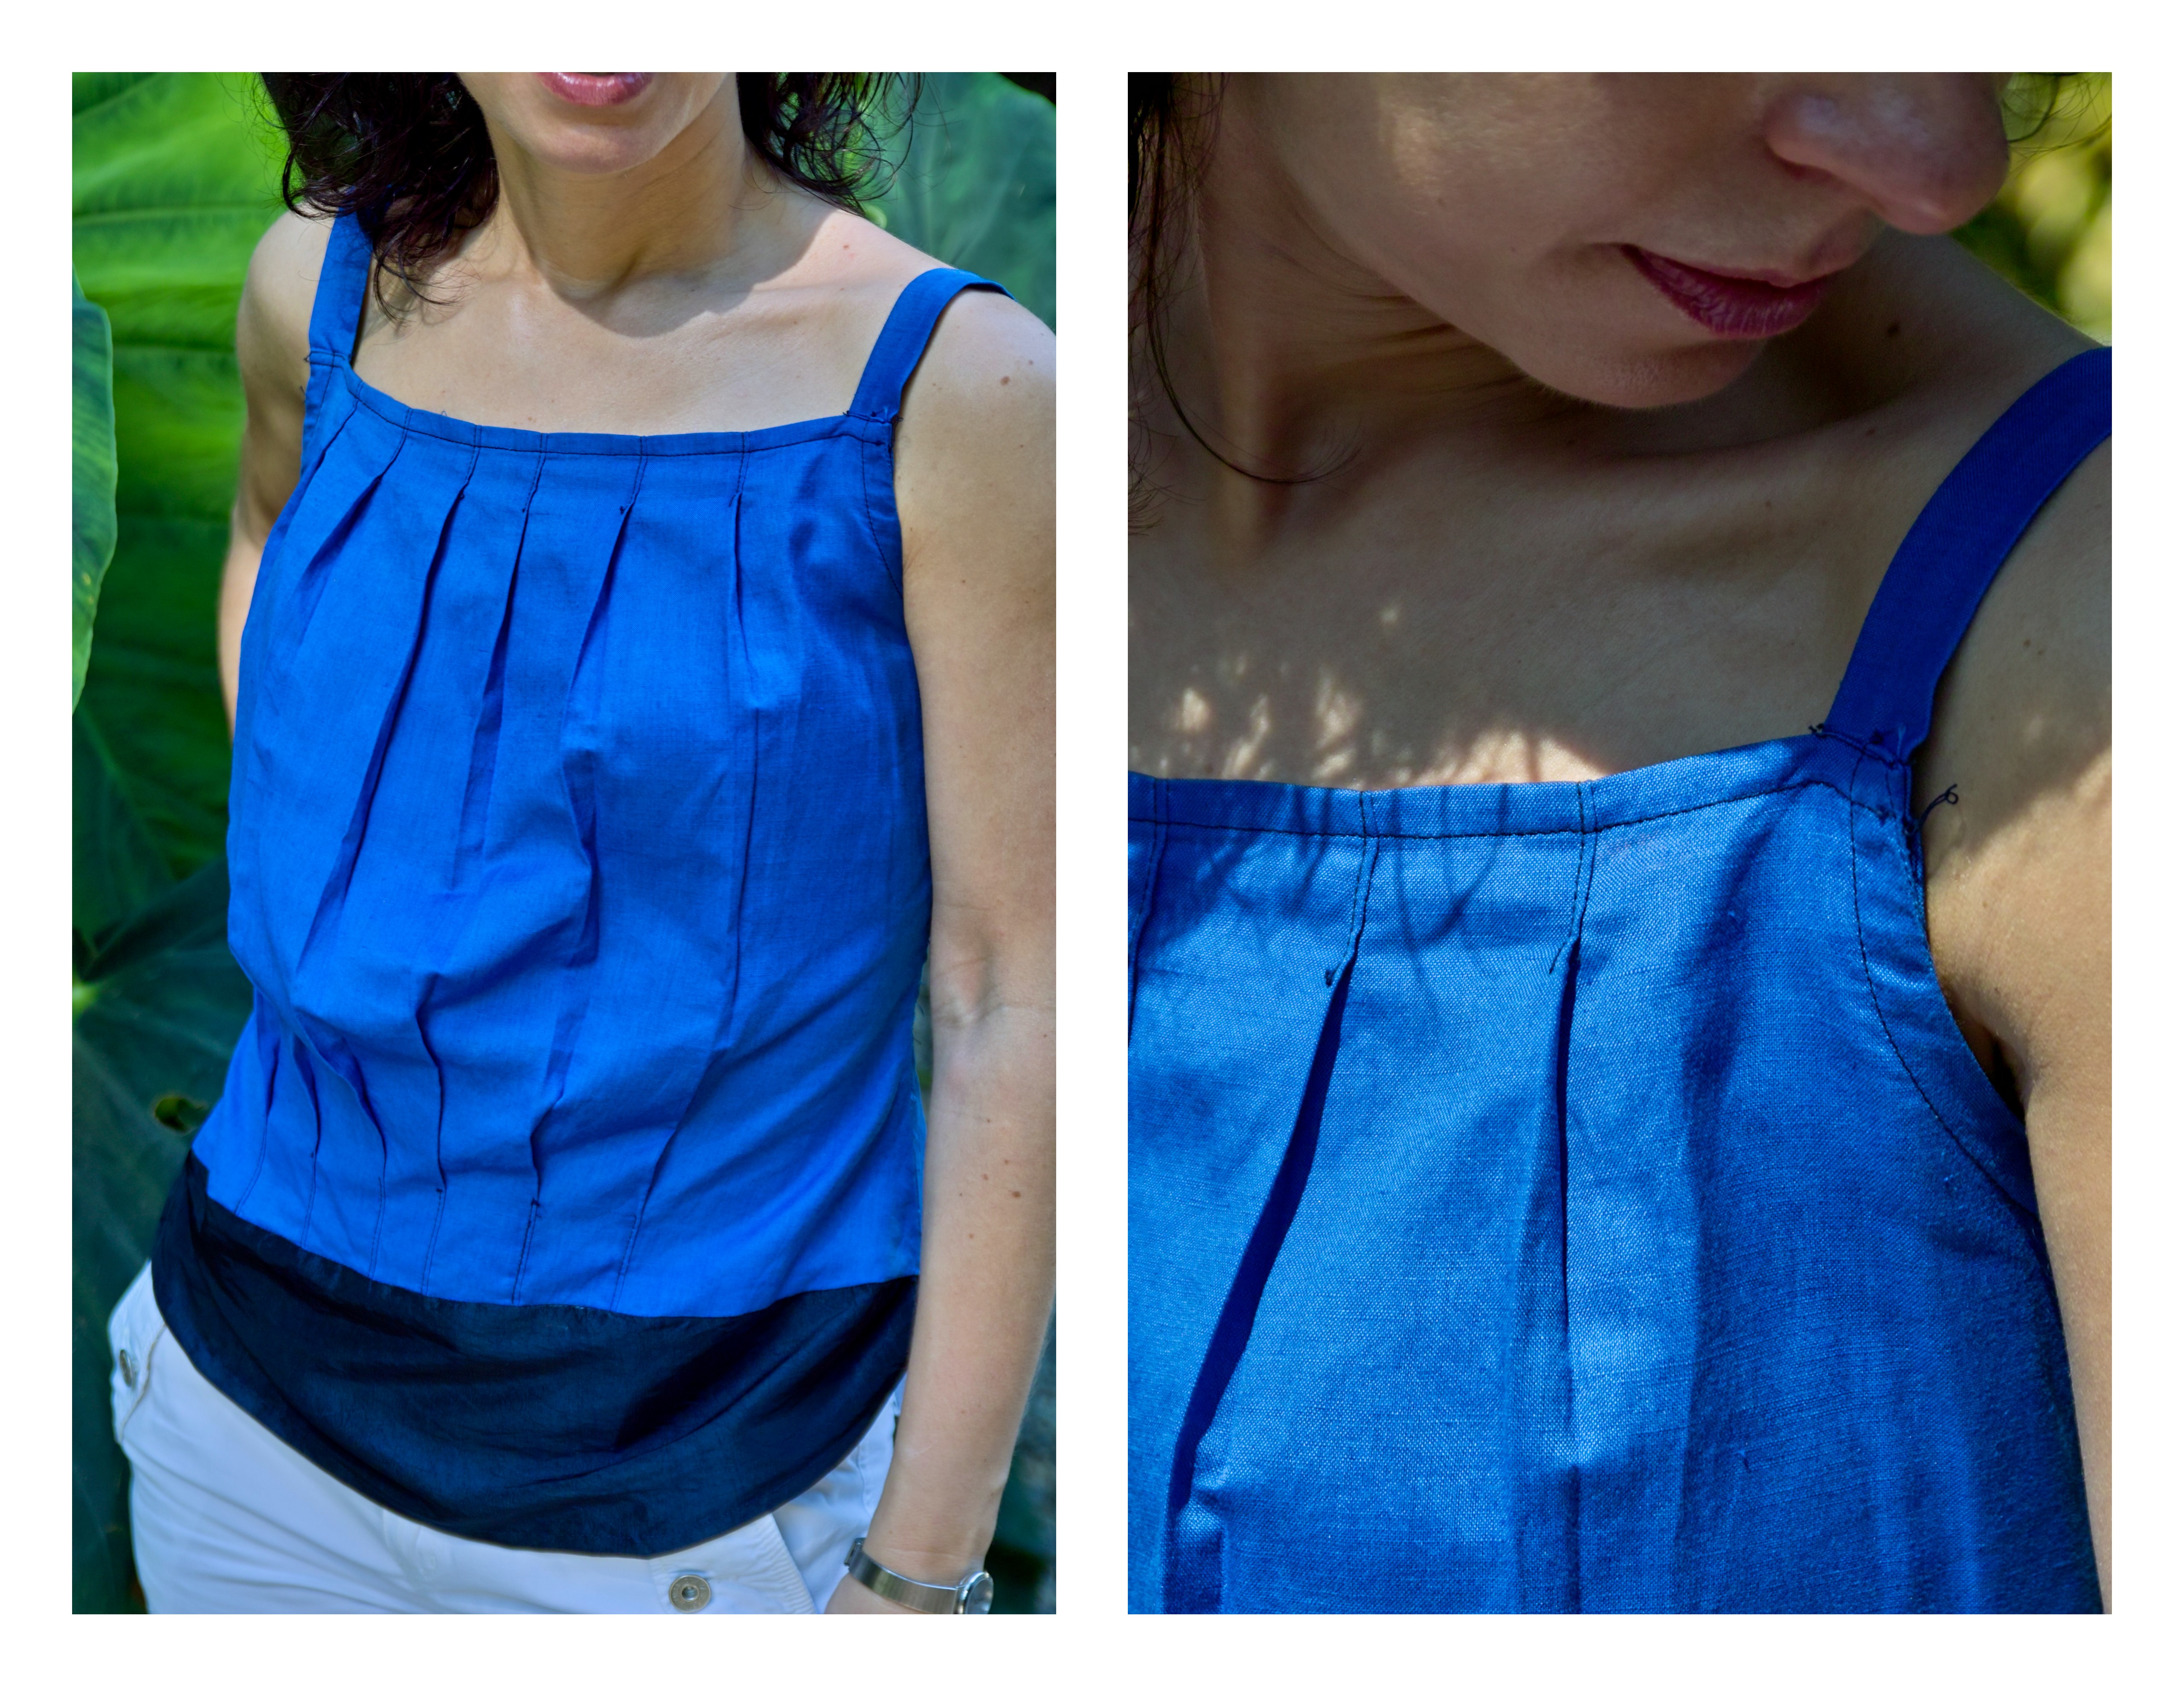
 Those of you who bought Burda in May 2009 might remember this top. I fell in love with it…and I was extremely disappointed to find out that there was no pattern for it in the magazine. Back then I had not started yet with patternmaking, but now over a year on I could finally try to reproduce it.

So, I am happy to share this tutorial with you. If you have any questions or suggestions please feel free to contact me.
What will you need:
- Basic top pattern (I drew mine from the basic shirt pattern using Design it yourself clothes)
You can also take any woven top that fits you and draw your pattern from there.
Otherwise, you can use this Made by Rae tutorial which has also helped me to draw the pleats!
- Facings or coordinating bias tape for the armseye finishing
- Zipper (optional) I didn’t use it on my top, but if you wish you can sew one on the left side

Step 1: Draw your front pattern
- Take a new large piece of paper
Make sure is wide enough because we will be extending the center front
- Draw your front pattern onto it

Step 2: Extend center front and draw neckline
- Draw a line parallel to your center front, 6 inches away.
This will be your new center front.
- To draw the neckline I measured the vertical distance from my neck bottom to the depth of the wished top neckline
- Then I drew a straight line from that point to the armseye.
If you are unsure about the right measurement, simply fold your paper and place it next to your body

Step 3: Place your patter on the fabric
- Fold your fabric wrong side facing along the selvage
- Place your newly drawn front pattern on the fold
- Cut your fabric


Step 4 – Cut shirt back
No changes to your original back pattern. Simply place it on the fold and cut the fabric
Step 5 – Cut shoulder straps
Cut two strips of fabric.
I did 3″ (7.5 cm) width including seam allowances. The strips lenght will depend on your figure.

Step 6: Draw pleats

Starting 1/2” away from center, make three pairs of marks 1” apart, skipping 1.5” in between each pair.
So you will have the following spacing sequence 1/2, 1, 1.5, 1, 1.5, 1 inches from the center going outward.
Do the same on the other side and at the bottom
Step 7 – Draw pleats at the bottom Step 8 – Connect the marks
To make the following folding step easier. I found it more practical to draw the pleats lines.
 Step 9 – Fold your pleats
Fold fabric so that the marks overlap and pin in place. Fold the fabric so that the folds face towards your left.
 Step 10 – Pin front and back
Now that your pleats are ready, pin together front and back. I did this to save me time when sewing.
You can also sew your pleats first (see next step) and then come back to this step
You should only pin right sides together if you plan to sew French seams
Alternatively, pin wrong sides together and finish raw edges with zig-zag stitch.

Step 11 – Sew pleats
- Sew down pleats using a straight stich.
I sew down and up 1 inch (2.5 cm) but you can do a bit more if you prefer.
- After sewing your pleats, sew front and back sides together
- Add the zipper to the left side (optional)

Step 12 – Sew armseye facings
 Step 13 – Finish armseye
Top stich your facing or bias binding
 Step 14 – Sew straps
Sew the straps vertically, using your preferred Seam Allowance.

Step 15 -Turn straps
 Step 16 -Turn strap
- Pull the pin until it reaches the other side.
- Sew along short ends to finish the straps

Step 17 – Sew top
Sew a double hem along the top
 Step 18 – Attach straps
I started at the back, then tried the top on to adjust the correct front strap size

Step 19 – Hem the bottom
Your top would not be finished… You can simply hem the bottom with a double hem, like you did for the top.
In my case…I added a couple of steps because I realised the top was too short for my taste. So I decided to extend it with some contrasting dark blue taffeta. In the end the top looks a bit different from the original … I guess I will have to sew another one…
If you like to add an extension too… here is how I did it. Certainly not the easiest way, since it was an aftertought solution… but I wanted to avoid cutting the original top.
If you plan to add a contrasting extension you could cut a straight line for the top part and only curve the extenstion (it might save you a headache!)

Step 20 – Drew extension

Step 21 – Sew extension
- Sew together front and back extension along the short edges
- Sew the top bottom to the top extension, right sides facing
- Hem the bottom by double folding
(sorry for the missing picture)
Let me know if you have any questions or would like to share your finished projects.
Happy sewing! See you in a couple of weeks. Thanks for reading.


Very stylish!!!
LikeLike
Hi,
Just came across your page. I’ve started sewing again after quite some time and was feeling quite discouraged though I have been able to sew a few things. I really need to neaten my work.
But I read that you were able to make a pattern after a year, though it really is 365/6 days, I realised that I could do it too. I’m looking forward to receive your newsletter and tips.
LikeLike
Thank you…
LikeLike